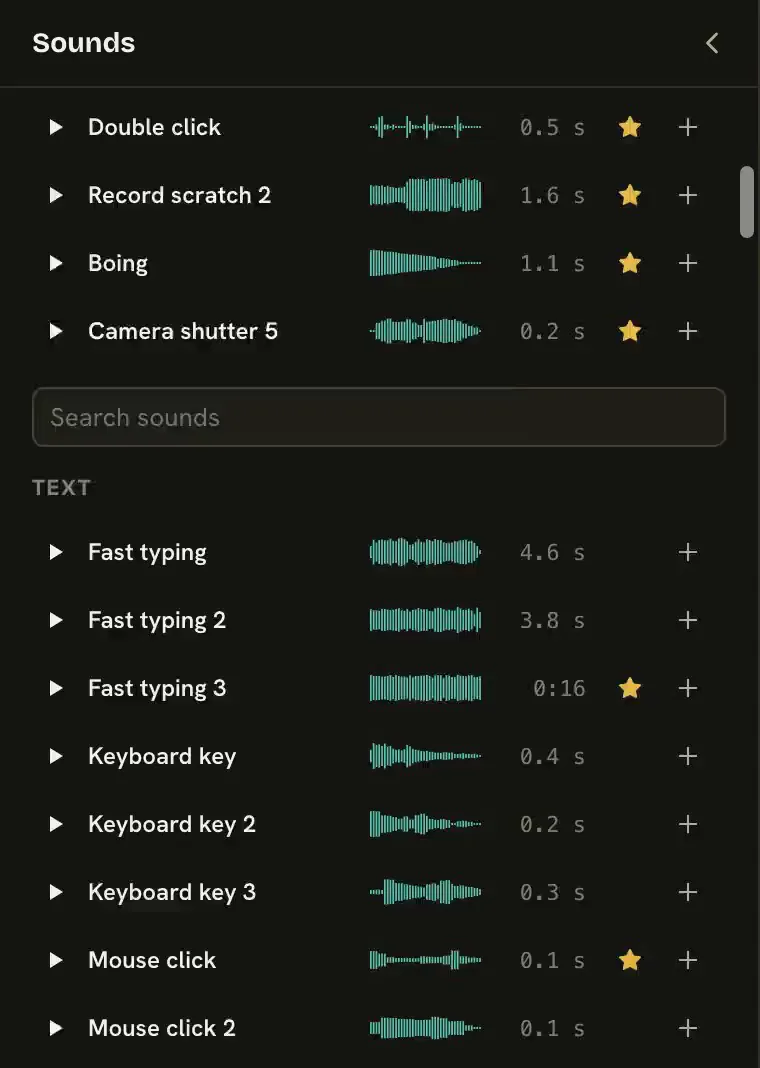
Open Sounds, click a sound to hear it, then double-click it (or press +) to add it at the playhead. Its hit point lands on the word.
Choose Sounds on the left rail. Click a sound to hear it; click again to stop.
Double-click it, or press +, to add it at the playhead. Or drag it onto the timeline where you want it to hit.
The sound’s hit point snaps to the nearest word start. It moves with your edits.
Screenshot coming soon
The Sounds panel.
There are 147 sounds, free to use, each set to its own level. Groups: Text, Screenshots and photos, Money, Stickers and pops, Reveals, Transitions and whooshes, Humor and Undercut.
A sound sits on an Audio track under the main track, its bar starting where it is first heard, with a tick where it hits. Drag the bar to move its hit, or up or down to another audio track.
Tie a sound to what it hits
On a text, graphic, zoom or card’s page, find Sound effects, choose Add a sound and When: In (as it comes in) or Out. A tied sound moves, duplicates and deletes with its item. Untie frees it.
Trim and level
Drag either end of a sound’s bar to shorten it (nothing loops). On its page, set Volume and fades. Built-in sounds are already at a good level, so only turn one down if it covers a word.
Or ask your agent
You
Add a typing sound to the title, and a whoosh when the card comes in.
Add music that lowers under your voice
Bring in your own music, then choose Add as music. It starts at the beginning, and by default drops under your voice while you speak and comes up in the gaps.
Yapp Studio has no music of its own. Bring in a song of yours.
Bring the song in: choose Import a sound… in Sounds, or drop it in. It lands in Media’s sounds.
Open the row’s ⋯ menu and choose Add as music.
On the music’s page, set Starts at (seconds into the song), Volume, Fade in and Fade out.
The music lands on an Audio track under the main track. Drag its bar to move it, or its ends to trim it. A sound dragged onto an audio track that already holds music is added as music too.
Lower under the voice is on by default. Music sits well under your voice while you speak and rises in the gaps. Turn it off for music that should stay full.
Or ask your agent
You
Add this song as music, fade it in over two seconds, and keep it under my voice.
Normalize loudness
On a clip’s page, turn on Normalize loudness to bring that clip’s voice to −14 LUFS, the level reels play at. It starts off, and the app keeps peaks safely under the limit either way.
Select a clip.
In the right panel, open Sound and turn on Normalize loudness. To turn it on for every clip of the take at once, press Apply Normalize to the whole take under it.
Use Volume to nudge a clip up or down in dB on top of that.
A limiter on the whole mix holds peaks under about −1 dB, in the preview and the export, whether Normalize is on or not. Watch the meter beside the play controls.
For sounds you bring in yourself, Normalize loudness brings them to −18 LUFS, which sits in the middle of the built-in sounds. Leave it off for built-ins.
Or ask your agent
You
Normalize every clip’s loudness.
Clean your voice
On a clip’s page, turn on Clean voice to remove background noise and some room echo. It runs on your Mac, costs nothing and can be turned off again.
Select a clip, open Sound and turn on Clean voice. (Right-clicking a clip also offers Clean voice.)
Wait for Cleaning the voice… to finish. It runs in the background, one take at a time.
If the voice sounds thin, lower Strength (100 is full).
It applies to the whole take, not one clip. The export waits for it to finish. If it cannot clean, you see The voice could not be cleaned with Retry. The voice model is part of the app, so there is nothing to download.
Or ask your agent
You
Turn on Clean voice for this take. It was recorded in a noisy kitchen.
Use a separate recording of your voice
Drop the audio file from your mic or recorder on the project. Yapp Studio lines it up with the video by its sound and plays it instead of the camera’s.
Drop the audio file anywhere on the project, or select the clip and choose Use a separate recording….
The page says Lined up by its sound. Check the lips on a few words.
Choose Take’s sound: Camera or Separate recording. If it is slightly off, nudge it with 1 frame earlier or 1 frame later.
If it says Not lined up by its sound, nudge it until the lips match. A file that matches nothing is not kept. One long recording can serve several clips.
Or ask your agent
You
Add this recording as the sound for my take, and check it is lined up.
Bring your own sounds
Choose Import a sound… in the Sounds panel, or drop an audio file in. Then add it as a sound effect or as music from its menu.
In Sounds, choose Import a sound…. Pick a wav, mp3, m4a, aac, aif, aiff or flac file.
Open the sound’s ⋯ menu in Media. Choose Add as a sound effect, Add as music, Use as a take’s sound…, Add to favorites or Delete from this reel….
Yapp Studio measures the first strong beat as the sound’s hit point. Your agent can move it. Turn on Normalize loudness on a sound of your own to bring it to −18 LUFS.